


")


In the world of photography equipment, choosing the right lens for a wedding can be COMPLETELY overwhelming. 😵💫
You want to get quality equipment to create strong images, but you don’t want to waste money on equipment that’s not right for you. I get it – you’re on a budget! 💸
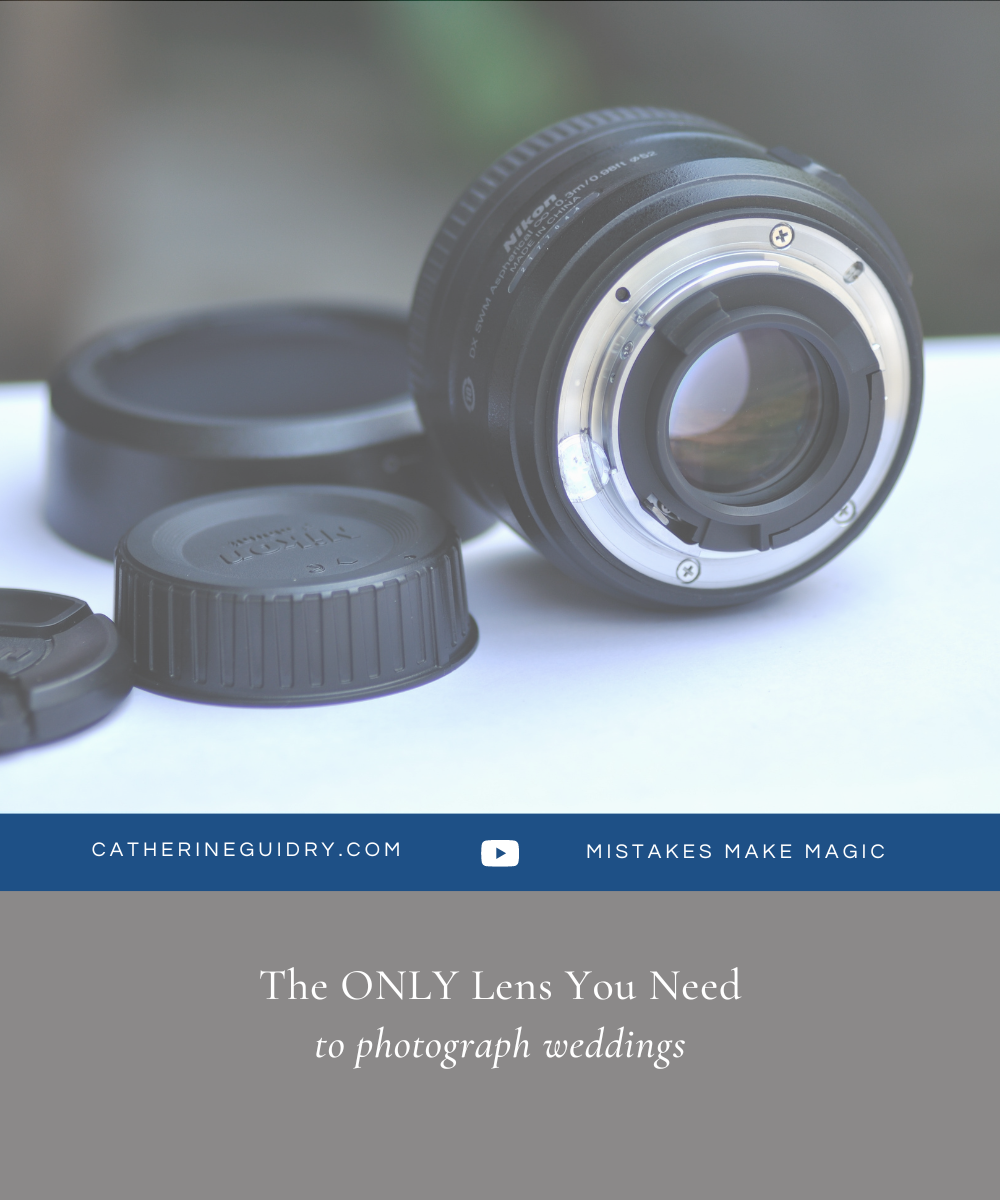
Today, I’ll tell you WHY the Nikkor 24-70mm f/2.8 is the ONLY lens you need. I’ll also compare it to the old Nikkor 24-70mm f/2.8 if you’re shopping around or considering upgrading.

Versatility
First of all, I feel like I should say that the Nikkor 24-70mm f/2.8 is my most versatile utility lens. If you think about your lenses like a softball team, and you’re trying to figure out who’s the most versatile player… it’s this one. 🥎
The reason for this? This lens has what’s called a fixed aperture. That means whether you’re at 24mm (the most zoomed out) or at 70mm (the most zoomed in), it doesn’t matter; your aperture can STILL be set to 2.8.
This is really great, especially in situations where there’s less light. In a non-fixed aperture lens, say you’re at 24mm and you zoom out. Maybe your aperture here was 4, but all of a sudden it’s a 5.6. Now, your camera isn’t letting in enough light. That’s a BIG difference!
I LOVE that this is a fixed aperture zoom lens, and it’s great quality.
Comparisons
Regarding the old 24-70mm, they’re pretty close in weight. I don’t necessarily feel there was a whole lot to gain in upgrading for lightness.
However, the new lens IS sharper than the old, so I did upgrade for that reason. Additionally, the new lens is native to the new Nikon Z6 II, which means I don’t need an adapter to connect this lens to the camera.
If you don’t have the money to buy the new lens, you can still connect the old lens using an adaptor. Oftentimes, though, whenever you’re using another piece of equipment to connect the lens to the camera, it’s a LITTLE bit slower. And on that note, I’d say the newer lens is generally faster than the old. 💨
Versatility in the Bridal Suite
Regarding either the new or old 24-70mm, I love this lens for utility and versatility at weddings.
Let’s say, for example, you’re photographing in the bridal suite. She’s putting on her dress and you have on, say, your 50mm F 1.2. This lens is my ABSOLUTE favorite lens, as you probably already know!
However, the 24-70mm STILL wins the race for versatility. If I am in a very sentimental moment, a very fast-paced moment, or a moment I just don’t want to interrupt, it’s perfect. If I have this lens on and I’m all the way back as far as I can be, I don’t have to waste time asking them to stop what they’re doing while I switch lenses – it works for ALL moments.
Instead, with the 24-70mm, I can just zoom out a little bit. It’s not necessarily my IDEAL focal length – my favorite is 50mm, all day every day! – but if I’m photographing with the 24-70, I can get wider without having to switch the lens.
During Ceremonies
This is why I use this lens primarily during ceremonies.
I’ve actually been in the situation before where the bride is walking down the aisle and I was using a fixed-prime lens on my camera. All of a sudden, I needed to get further back… but I COULDN’T back up anymore. There was a bridesmaid standing behind me as the bride was walking down the aisle, and I panicked – I wasn’t able to capture the moment the dad handed her off as well as I wanted to. 😓
In those situations where things are moving fast and you’re not sure if you will have time to switch lenses – like a processional or an exit, for example – you want to be safe rather than sorry. I recommend putting the 24-70mm on the body, just in case!
Best for Receptions
Another part of the day where I almost exclusively photograph with the 24-70mm is the reception.
Why? There’s a lot of people, a lot of movement, and not a lot of space! 💃🏼🕺🏼
When I’m photographing the receptions, I like to have the ability to photograph as wide as I need to. My best tip for this? I suggest you get as zoomed in as you need to.
What do I mean by that? If you’re shooting with your zoom lens, you really need to pay attention to where your focal length is. If you’re at 24mm and you can be at 35mm or 50mm, I suggest that you do so. You’re going to get more of an editorial, real-life feel to your images.
Whenever you’re photographing at something like 24mm, you start to stretch your subject.
I see this a lot whenever I hire a new 2nd or 3rd shooter. One of the biggest mistakes I see when they’re photographing with the 24-70mm is they’re photographing really close to their subject, but very zoomed out.
For example, when you’re photographing a detail, like an arrangement, if you photograph using the 24mm but up close to it, it’s going to look stretched and distorted.
But if you step up and zoom in to 50mm instead, that same arrangement is going to look more true-to-life to the way your eye sees it. 💐
Traditionally, your eye sees at about 50 mm, so the most difficult part of using a zoom lens is learning to pay attention to where you are in focal length. This requires practice and discipline, and requires you going back to your images to see the difference, so you know it’s worth it to zoom in when you can. 🔎
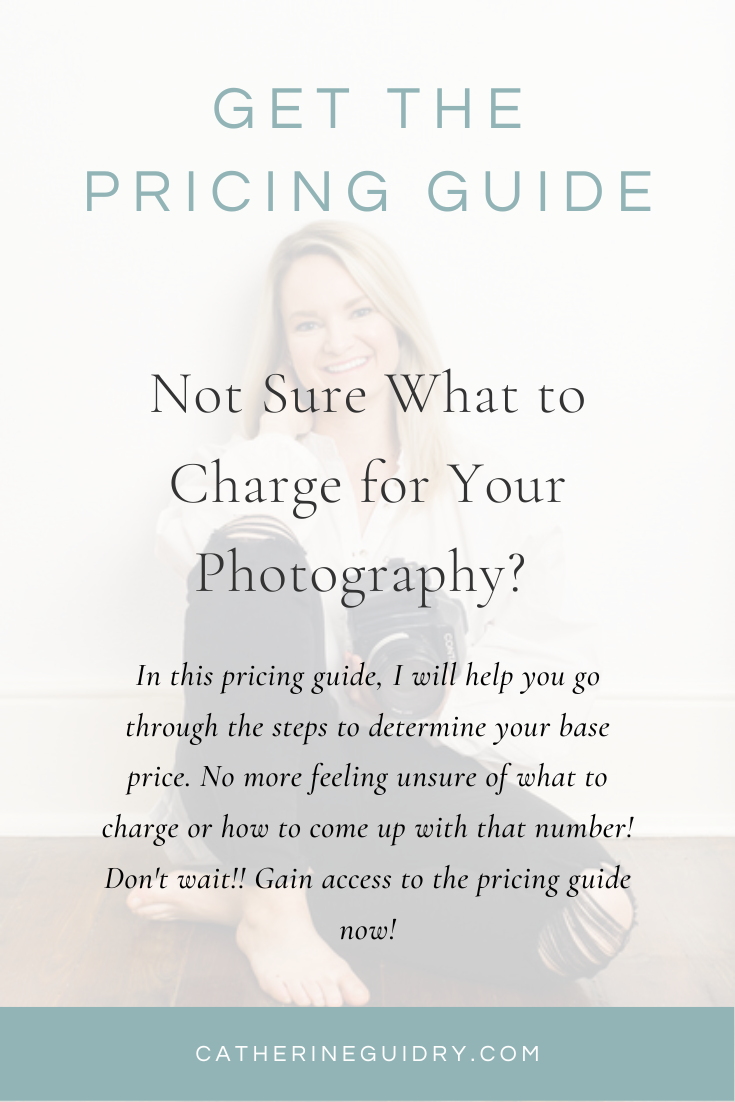
Affordability
If someone came to me and said, “Cat, I can only afford one camera and one lens to photograph a wedding. What should I buy?” It would be THIS lens!
Although the 50mm f/1.2 – or even the f/1.8 – is my favorite lens in terms of sharpness, quality, low-light, and so on – if I could only afford ONE camera and lens for a wedding, it would 100% be the 24-70mm.
It is BY FAR the most-used lens in my bag. It’s a workhorse! 🐎 It’s an amazing lens for the quality – and the price – and I truly believe, unless it’s a church ceremony where you really can’t get close – you can get away with shooting an entire day with a 24-70mm lens.
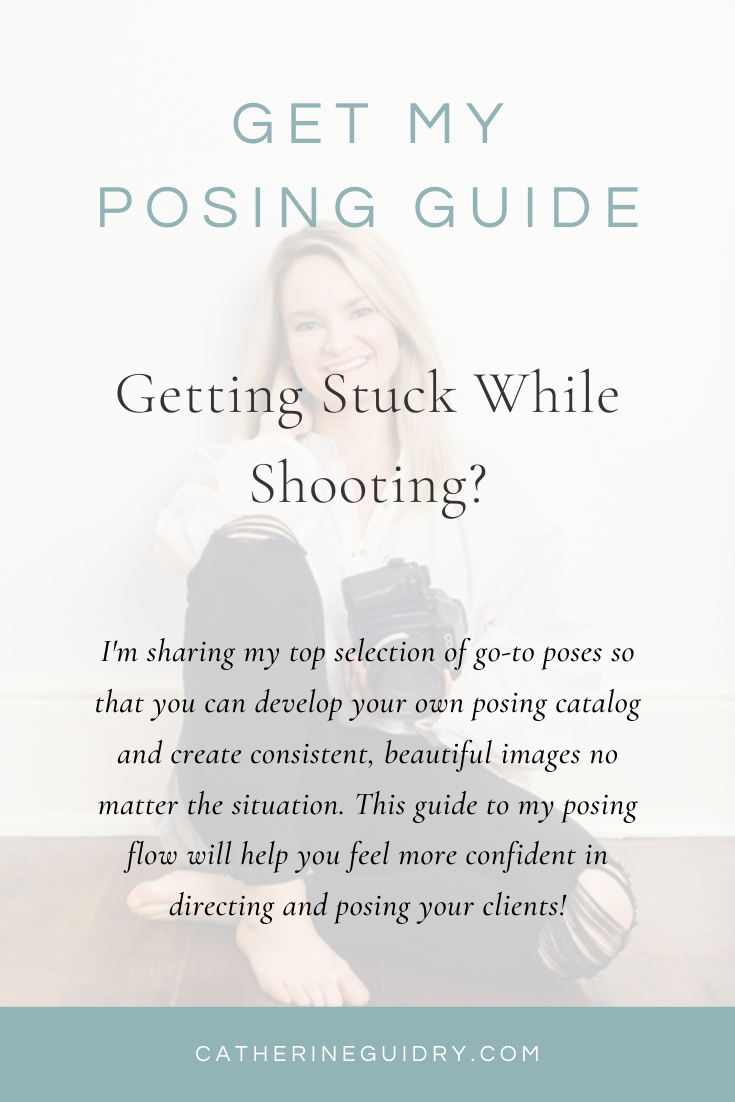
Next Steps: Posing
Now that you know the best lens to use at your next wedding, you need a list of the best go-to poses!
Do you ever feel stuck or nervous trying to come up with poses on the spot? Or maybe you use the same poses over and over and need something new?
I’ve been there… and now I’m sharing what I’ve learned to help you! My Posing Guide below will allow you to:
- Build confidence so your clients know EXACTLY what to do
- Have “go-to” poses to create consistent, strong images
- Never feel stuck or on-the-spot – you’ll have a posing flow!
Check out the Posing Guide below. ⤵️