Today’s blog post features a fellow wedding photographer and educator!
Stephanie Kase is based in Columbus, Ohio and has been photographing weddings for about five years now. She also helps photographers grow thriving businesses through online education! In this blog post she’ll be taking us through the steps of getting started with video marketing:

Video marketing is a powerful way to connect with your audience and potential clients. When they can see your face and hear you talking, they instantly form a much stronger connection than images and words on a screen ever could. Video is something I believe every photographer should be implementing in their business to stand out in their market!
Not only have I used video to grow my audience for education, but in my own photography business, I am now no longer doing wedding photography consultations or phone calls anymore to book weddings! This is because my couples are seeing videos of me talking to them and connecting with them. A meeting is no longer needed for them to know they want me as their photographer!
Maybe you’re reading this and thinking, “Stephanie, that’s great… but I have no idea where to start. How do you film yourself? How do you come up with video ideas? What gear do you use?” Or maybe you’re like me when I first started with video, and you really just have NO idea where to start.
In this blog post, I want to break down 3 steps you can take to get started with video marketing in your photography business… and it’s way easier than you think! Let’s jump right in:
Step 1: Creating video content can get overwhelming REALLY fast because there are so many moving parts to it, especially when we think about long-form videos (like what’s typically on YouTube). However, I would encourage you to take a baby step in the direction of video marketing. You don’t have to completely jump in to take advantage of it!
There are three really easy steps you can do to get started with video:
- Create selfie videos on Instagram stories of yourself talking to the camera. You’ve probably seen a LOT of people you follow on Instagram do this, and they do it for a reason! It’s an easy way to start with pretty much no setup or editing, you can redo it as many times as you want, AND it disappears in 24 hours. That takes the pressure off because it isn’t going to live on the internet forever!
- Film a long-form video with your phone, then upload that to IGTV. Grab yourself a smartphone tripod (like this one!) for easy setup, then just hit record and share about a topic! You can then easily upload this to IGTV straight from your phone with no editing!
- Create Live videos on Instagram or Facebook! These are awesome because there is no editing or fancy gear involved, so the only amount of time it takes you is prepping for the live video and actually going live. Bonus tip: Think about the replay more than the actual live! Most viewers will watch the replay and might not want to sit through 3 minutes of you explaining what you’re going to talk about and how you’re waiting for people to show up. Jump into the content so those watching the replay are excited to tune into the whole thing!
Step 2: If you want to bump up your video quality a notch, purchase a mic! Audio truly matters more than video quality, especially with how many of us play videos in the background while we’re doing something else (anyone else guilty of this?!) The most important thing is having great audio! Nowadays, even our smartphones have AMAZING video quality, so you can definitely get away with using your phone for video and using a different mic!
If you have an iPhone with a lightning connector, I highly recommend this mic! It automatically bumps up your audio quality as soon as you plug it in with no extra set up. However, there are so many different options for mics, so there are a lot of routes you can go with this! A Blue Yeti mic is also a popular option, and is very versatile because you can use this for live videos as well with your computer.
Step 3: If you’re ready to dive into using your DSLR to film, start with the gear you already have! The benefit of being photographers is we already have some of the BEST equipment for making quality video content. The most important feature in a camera that will make it easy for you to create videos is auto focus with face tracking. Most Canon and Sony cameras come with this feature! A quick Google search and look at your camera should tell you if your camera has this.
With that said, even if your camera doesn’t have face tracking, you can always use manual focus and smartphone apps that allow you to get yourself in focus. You’ll just have to remember to sit in the same spot while filming to stay in focus. I used my Nikon D750 (that doesn’t have autofocus face tracking for recording) for almost two years to make my weekly YouTube videos! If you are looking for a camera specifically to create videos with, I now have a Canon M50 and LOVE it!
Besides these three steps, here are a few quick tips that are SUPER helpful to know for filming, especially when it comes to long-form videos:
- Write outlines for your videos! This will help you to know what you want to say when you sit down to film, instead of getting ready and having no idea what to say or talk about. This goes for live videos too! You don’t want to hop on and forget what you wanted to share!
- Smile before and after you start talking! Seriously, when you piece together the different parts of your video while editing, this makes a HUGE difference. When I say this, I literally mean smile-talk-smile, and holding those smiles for a couple seconds! You might feel super silly, but when you cut to when you actually start talking, it comes across way better on camera. You can skip this step for live videos, but when recording content to edit later, you’ll want to be sure to do this!
- Not sure what topics you should create videos on? Here are some ideas: If you’re creating long-form videos to upload to IGTV, YouTube, or to use on your website, here are a few topic ideas to get you started: Walking clients through your photography experience on your pricing page, sharing wedding advice for brides, giving tips on planning for portrait sessions, showing a special video when someone submits your contact form that thanks them, and showcasing your album options on your pricing page. The options here are endless! Think about what would help serve your client well before and after they book.
- Use iMovie to edit your videos! It’s completely free on a Mac book and it’s what I used to edit all my videos for a couple of years! It has everything you’ll need to get started.
My biggest encouragement I want you to take away is to simply get started with video! You’ll be surprised how much it can help grow your business and help you connect with potential clients. I’m excited to see how this helps you to grow your photography business!
If you want to connect with me or ask any questions on creating video, you can find me on over on my:
WEBSITE: https://stephaniekase.com/
INSTAGRAM: https://www.instagram.com/stephanielynnkase/
YOUTUBE: https://youtube.com/stephaniekase
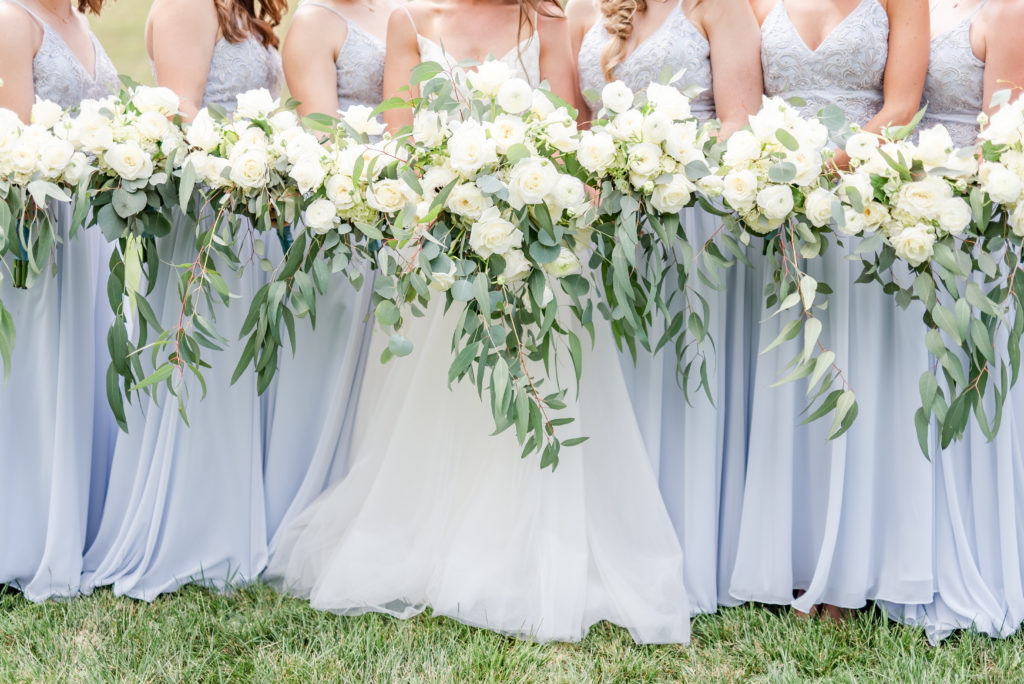
Photo by Stephanie Kase Photography http://www.stephaniekase.com

Thank you, Casey, for taking the time to be a part of the blog. Go check out her website and find her on YouTube and Instagram for more valuable content!


