


")


Ok, I have to admit something to you.
Back in 2010, when I was photographing a cake cutting, I had a moment where I did not know what I was doing.
Half of my photos were showing up black – and the other half were showing up in full, true, perfect color! As I was taking the photo, half of it wasn’t even legible. WHY was that happening? 😓I found myself panicked and flipping through the settings and images trying QUICKLY to figure it out.

Over time, I figured out the issue I was having at that reception in 2010 was called “sync speed.” What this means is the shutter speed on my camera was set higher, or faster, than 1/250th of a second.
Let’s say the shutter speed on my camera was 1/500th of a second. Well, my off-camera speed light on a light stand was not able to sync with that very fast shutter speed because it was not able to keep up.
So, when you’re setting your shutter speed on your camera, make sure it’s something like 1/125th or 1/250th of a second, and you won’t run into that issue. Easy fix, right?
I didn’t figure this out overnight. It took me a lot of time and many wedding receptions to find the best setup and tricks for reception lighting – and now I’m here to share them with YOU so you don’t have to go through that!
Trust me, I know that reception lighting is a topic that gives many people trouble, but don’t worry – I’ve got you! 💌
Read on for overarching topics with reception lighting and my best tips for fixing them.
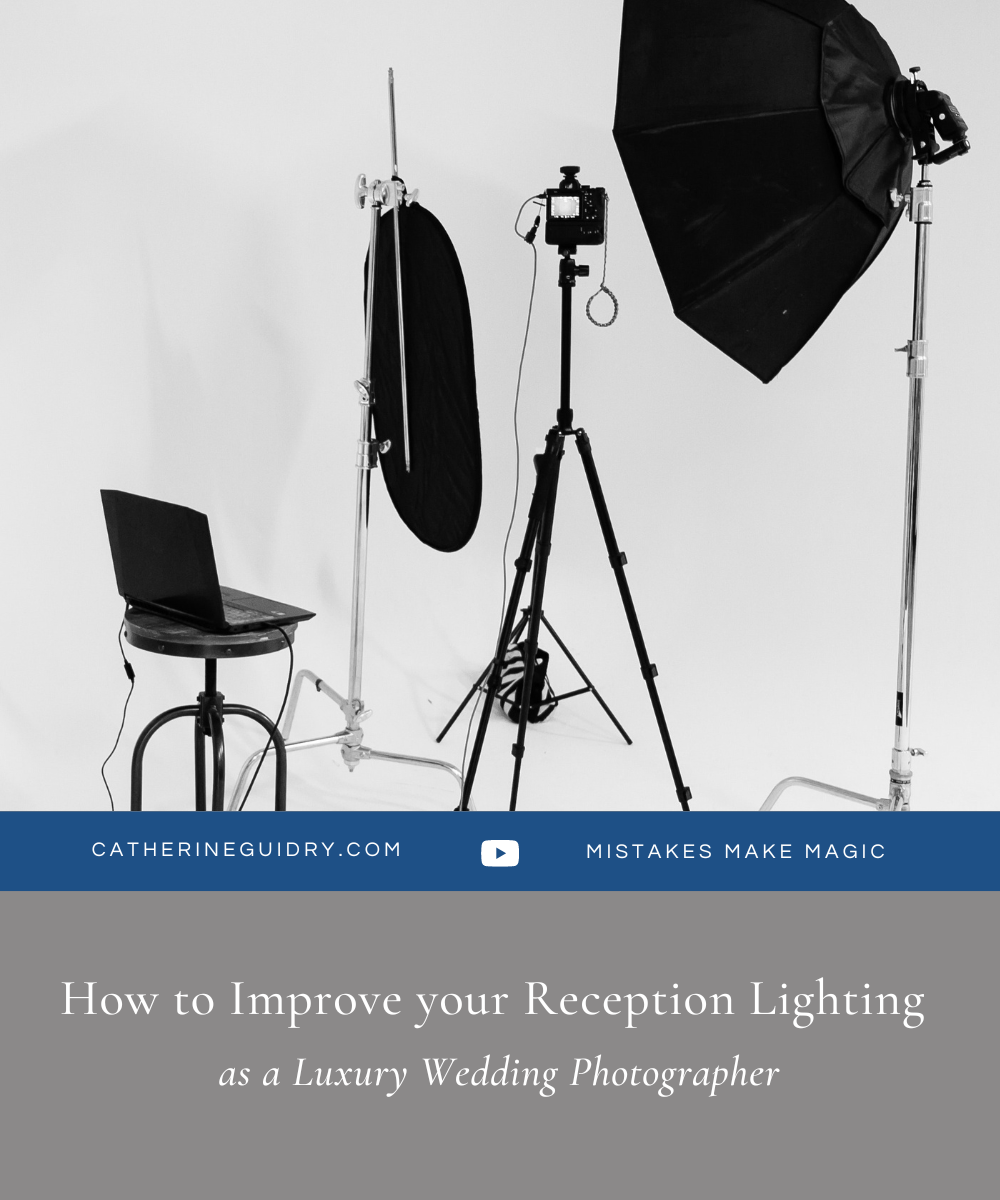
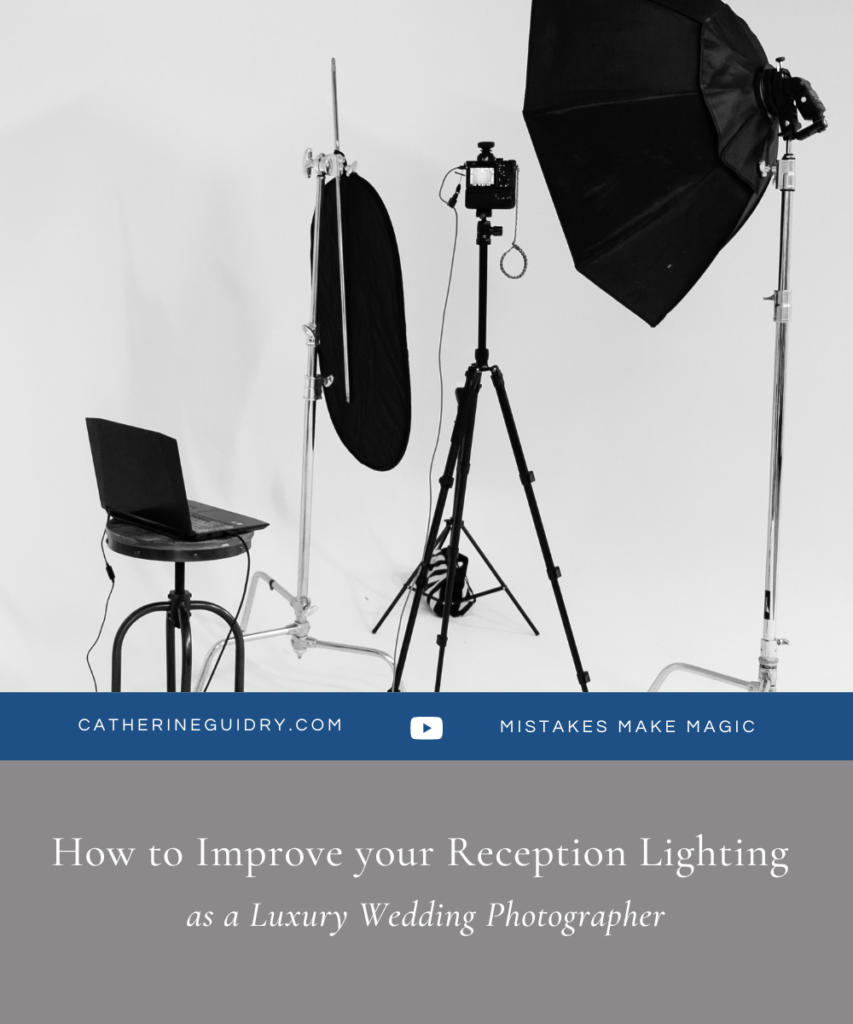
1. Purchase or Rent Your Best Gear
You’ll hear a lot of people say, “The gear doesn’t matter – it’s all about the photographer.”
That’s true… BUT you’ll begin to see the biggest differentiating factors between expensive gear and inexpensive gear actually happen at the reception!
It’s not necessarily about the price point as much as it is about the camera and lens features, specifically in regards to its ISO capabilities and aperture. The Nikon Z6 II and the 50 mm 1.2 is a great setup if you can afford that – but even if you can’t, the 50 mm 1.8 will give you more light than the 24-70 mm 2.8, or the 50 with an aperture of 4-5.6
When I’m photographing a reception, I’m looking to photograph with my lowest aperture lens because it’s going to let in light and quickly focus. If you have a zoom lens at a fixed aperture of 2.8, like the 24-70 mm, that’s a great option.
For me? The 50 mm 1.2 is my favorite lens – I have a whole video here about it! I love it because it lets in a lot of light and it’s really fast to focus in low-light situations.
Why does this matter? Well, if I were to put a kit lens that came with my camera – maybe it had a variable aperture of f/4-5.6 – it’s not to say that I couldn’t use that lens on a wedding day, but for a reception, I would 100% have to use a lot of flash. I wouldn’t be able to use as much ambient light.
My goal when photographing a reception is (unless the ambient light is terrible) to let in as much ambient light as I can, without getting camera shake, and pair it with a flash when needed OR, best case scenario, I have enough light and can use just the camera.
2. Use Artificial Light
Let’s say we DON’T have good light or enough light – which is very common at a reception. What do we do in this situation?
You need artificial light! 💡 You can do that one of two ways: (1) On your camera in your hot shoe, or (2) have your light off-camera. If your light is off-camera, you will use your camera to trigger your light, or use a remote trigger
If using a remote trigger, it would go in your camera’s hot shoe. Most cameras will sync without using a trigger, so you can have that light off-camera.
Another option, especially if you have an assistant, is to use a video light. I use a very small video light, called a Lume Cube. The great thing about this is you can see EXACTLY what you’re shooting. You can look at the exposure and color rendering, and you can change the color rendering… and it’s so small, it can fit in your pocket!
One more example of a video light is the Profoto B10. I use this for both constant light and as a speed light – it actually pairs with the trigger I mentioned earlier!
3. Get a Speed Light
Ok, that’s a LOT of different options. Don’t be overwhelmed. You can use different options that suit your preferences, or keep it very simple.
To do this, at a base level, I would suggest you purchase a speed light. It doesn’t have to be the best! I use the SB-900. I use this with my Nikon camera and I love it because it does twist all the way around if I ever do want to put it on my camera and bounce the light off of something… but all you really need is a speed light to put on your camera that has a bounce card.
The reason for that is when you’re bouncing light, it’s going to soften the light and spread it out, and give it a more natural appearance. 🌷
HOWEVER, if you’re in a situation where you’re photographing what we call “Grip and Grins”… AKA, people smiling and getting together… you want to make sure their eyes are filled in nice and bright. In that case, this sort of setup is very easy and very straightforward.
Still unsure how to use artificial lighting? 😓 No worries! Set your speed light to “TTL.” TTL is essentially auto-focus for lighting. It allows your camera and light to work together to understand how far away your subject is and to capture that using its own algorithm and to photograph it evenly every single time. I highly recommend TTL – especially for someone who is not comfortable with artificial lighting yet!
TL;DR: There are light diffusers and modifiers you can attach to the top of your speed light to help spread the light – but base level, what do you actually need? You need a speed light and your camera. That is it.
4. Your Setup Determines Positioning
So, the setup we talked about above? When I’m photographing a reception, I really love this setup because I can move around and as long as I’m equidistant from my subjects, my images look very consistent.
I’m constantly shooting for a very bright, natural, airy aesthetic, and this setup allows me to get that with my reception photos!
When this light is on the camera, it doesn’t matter where my subject is or what they’re doing, I’m able to move with the light. If I’m using, for example, an off-camera light, and that off-camera light is on a light stand, it’s stationary. Those angles – the way the light hits the subject – might not always be optimal, and that’s the downfall of an off-camera light.
The exception here is with the cake cutting. 🍰 During the cake cutting, I can have an assistant hold that off-camera light and shine it towards my client, and I know my lighting is going to be perfect… because no one’s moving!
5. It’s Okay to Experiment
I’m just gonna go ahead and say… there are SO many ways you can approach a reception and I’ve done quite a few of those!
I have set lights on the dance floor shining towards the couple. I didn’t love it, because of the harsh shadows and changing movement of the subjects.
I’ve also tried using a video light on the camera – you can actually put the Lume Cube on your camera! – but I’ve had clients and guests say the light was blinding and distracting because it’s constantly shining at their face.
Note: That’s the beauty of a speed light – it’s only triggering when you’re taking the photo. 1/250th of a second is extremely fast… so fast, the client won’t even notice!
So, don’t be afraid to experiment… but also, don’t be afraid to take tried and true tips from other photographers, either! 😉
6. Consider the Background
I want you to think about what’s in the background of your image, and where you’re standing in relation to your subjects.
For instance, if you’re photographing the formal dance, the way that photo looks facing the band will look very different from how it looks facing the guests, right?
So, before the couple comes in for their dance, try to get an idea of what you’re going for. Consider whether you want to face the band, the guests, or another angle altogether – make sure you have that mapped out in your mind beforehand.
In the same way, think about how you’re going to photograph a detail before you do it. Walk all the way around the detail and see what story you’re telling.
A photograph of a centerpiece in front of a wall is going to appear very different from that centerpiece with the reception venue in the background. Neither one is bad – they just tell a different story. We want the details to tell the story of the day in the way that we feel most describes the experience.
It’s up to you to decide– and if sometimes you’re unsure, do both!
7. Get In The Mix
If you want to get really stellar photos at the reception, get in the mix! 💃🕺
People are going to mirror what you give them. So, if you’re on the dance floor walking around and not super into the music… that’s what people are going to give you. But if you’re dancing, laughing and have a good time with the guests… that’s what you’ll get back! 🎉
You want to get into the vibe of the reception and get people to mirror that back into your camera so you’re capturing those authentic reactions as they’re happening. I guarantee you’ll get better images that way!
So What Now?
That was a lot of different info! Don’t get overwhelmed. Start with incorporating just ONE of these tips into your wedding reception photography – whichever one is most realistic for you – and I know it will help improve your reception images!
Now that you’re thinking of how to improve your reception photo quality, have you started thinking of how you’ll price yourself? Don’t wait until the inquiry comes in… create a plan now with my pricing guide!
Do you ever feel stuck or nervous trying to come up with pricing on the spot?
Check out the Pricing Guide below. ⤵️